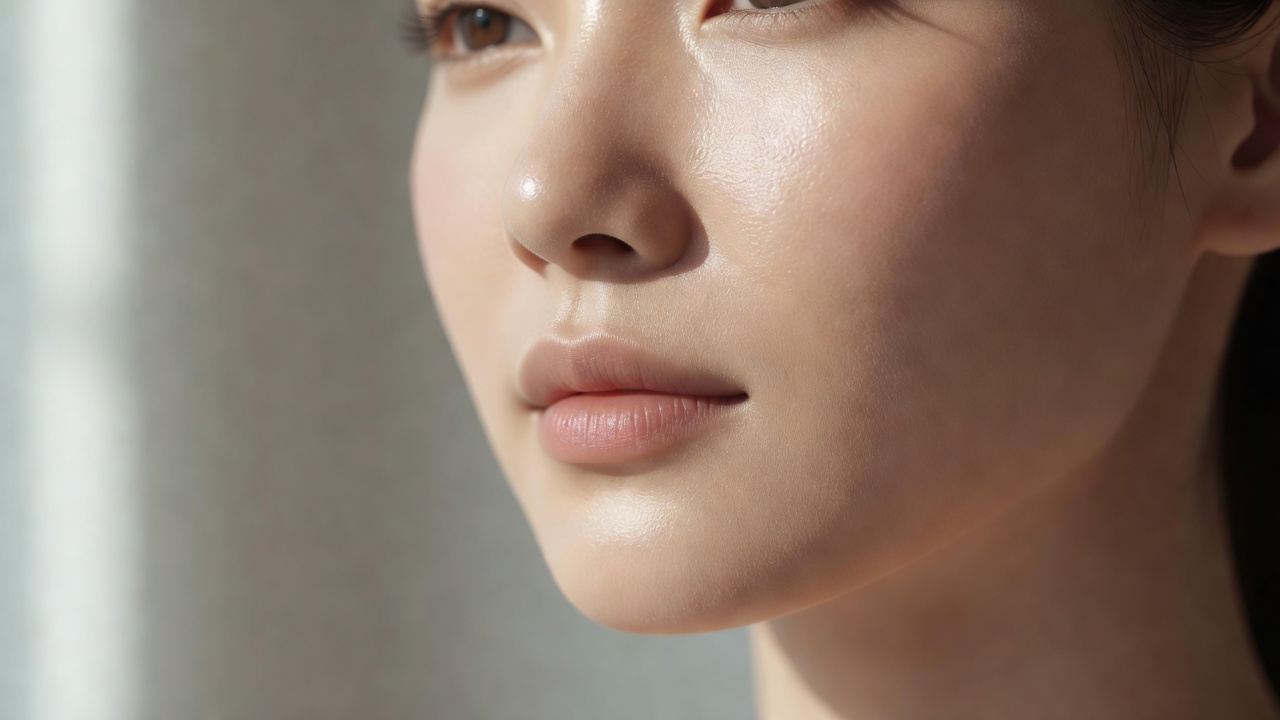
No makeup routine can guarantee a particular camera result. Lighting, exposure, processing, product combinations and application all influence the image.
Decide what the photograph is for
A casual phone picture, a professional headshot and an evening event with direct flash ask different things of makeup. Before choosing a “photo-ready” product, consider the setting. Will you be close to the camera? Is the light soft and indirect, overhead, or coming from a small flash? Are you choosing the photograph or being photographed as the event unfolds?
For an ordinary outing, comfort and a familiar routine may be more valuable than a highly engineered finish. For an important session, arrange a trial if possible and ask the photographer about lighting. If a service has appearance requirements, follow those requirements rather than assuming a beauty tutorial overrides them. Identity-document photographs, for example, are governed by the issuing authority’s current rules.
Understand what the light is doing
A large window can create broad, soft illumination, while a small direct light can make reflections and shadows more pronounced. Turning your head changes where highlights land. That means a shiny patch is not always evidence that a product has failed; it may be the point where the light reflects toward the lens.
Warm household lamps can shift how lip and complexion colours appear. Mixed light, such as a window on one side and a warm lamp on the other, can create different colour casts across the face. Look for a useful test environment rather than chasing a perfectly neutral mirror everywhere you go.
Check continuity before increasing coverage
Blend complexion products at the edges you expect to be visible, including the jawline and around the ears where relevant. Do not automatically coat the neck or clothing-adjacent areas. Instead, check whether the chosen shade and depth create a noticeable boundary in the intended light.
Under-eye concealer that is much lighter than the surrounding skin can become more obvious in photographs. Start close to your complexion depth and use a small amount where you want correction. Let the camera test tell you whether an adjustment is needed rather than assuming that a dramatically lighter triangle is a universal brightening technique.
Place reflection with a purpose
If you like a luminous cheek, keep it. Consider reducing competing shine around the sides of the nose or centre of the forehead if those reflections pull attention away from your focal feature. A little targeted powder may be enough. Covering every reflective area can make the finish feel unlike the look you wanted.
Shimmer size and placement matter. Fine sheen and obvious sparkle behave differently under a small bright light. Product names such as “soft focus” or “HD” are not reliable promises across every camera. Test the actual formula combination, including skincare and sunscreen underneath, instead of relying on the label alone.
A camera check is information about one lighting setup, not a verdict on your skin.
A repeatable three-view check
- Look in indirect daylight. Stand near a window without putting your face into harsh direct sun. Check colour continuity and whether the focal feature still feels balanced.
- Take a normal camera picture. Use the camera you expect to use at a comfortable distance. Turn off beauty filters where possible and remember that automatic processing may still remain active.
- Test flash if it is relevant. Take a picture in a setting resembling the occasion. Compare it with the non-flash view before changing your whole routine.
Change one thing at a time. If a bright patch appears only with flash, first inspect the amount and location of reflective product, exposure and the overall combination. Flashback can have several contributors; a single ingredient name does not reliably predict every finished formula’s behaviour. Do not skip needed sun protection to chase a photograph.
Keep the test realistic
Hold a phone very close and facial proportions can appear different because of perspective. Moving it farther away and using a sensible framing distance can be more useful than trying to contour away an effect created by camera position. Different lenses and processing choices also change the result. No single selfie reproduces exactly how other people see you.
Apple iPhone and Google Pixel cameras, as well as cameras from Canon, Nikon and Sony, use different systems and settings. You do not need to master all of them. You only need to recognise that an image is the product of makeup, light, optics and processing together, not makeup alone.
Plan a small, comfortable touch-up kit
Carry the lip product you are wearing, a clean tissue or blotting paper and a small amount of powder only if you know you need it. Gently remove excess surface oil before adding powder. Repeatedly layering product over sweat or a disturbed base can produce a heavier patch.
Finally, review photographs at a normal viewing size before zooming into individual pores. Makeup can change colour, contrast and reflectivity; it cannot turn living skin into a flat surface. If your look feels comfortable and the overall photograph tells the story you wanted, that is a useful finish. For more control over the layers underneath, revisit intentional application, or use reference decoding to choose a clearer focal feature.